Monday, March 6, 2017

Mounting the Curtis Controller


The Curtis controller provides the AC for my motor and that is the next step in my build. To mount the motor I decided to use some 3/16 flat aluminum stock that would sandwich in between the controller and a nice finned heat sink.

I also needed to weld some aluminum angle onto the flat stock to give it rigidity and a mount point to mount the whole assembly on the motor mount. 
This is what the heat sink / mount looks like as I welded it. You can see the welds are done in 1" sections and then the stock is allowed to cool to prevent warping. I also clamped the heat sink onto the assembly while I welded in order to minimize warping.


Welding the angle aluminum to the flat stock
After welding the tray, I clamped it onto the motor mount that I had fabricated for the motor. Then I cut out a template from cardboard to get the right angles for the angle aluminum for the braces.

Cutting a template to fit for the braces.


I then cut the aluminum braces with a skilsaw fitted with a metal cutting blade.


At this point I have the tray clamped to the motor mount and ready to accept the metal braces. I still need to weld flat ends onto the braces in order to bolt them to the tray and the motor mount.


Friday, January 13, 2017

Electric Motor

I found an electric motor on ebay that should work for my truck. I was told that it is an AC-46 motor.

AC-46 with shaft keyway and C face drilling and rear cover

Aluminum Heat sink for cooling controller

Curtis 1238-6501 Controller with programming for motor

The total was $2800. This was from Allan Bullock out of Livermore, CA


This is a picture of the motor mated to a transmission from a Ford Ranger.


Here is the motor all mounted in the truck.

Back to Square One

Well, I didn't like that heavy motor and CNG equipment in my truck. So I pulled it out and sold it. My new plan is to put in an Electric Motor and do a conversion.

So here is the truck sans motor again.


Monday, May 19, 2014

Engine Dropped into Truck

I finally got the Engine into the 56 Ford Truck
But now I'm having second thoughts about this engine configuration.

Here's what I need to do:

1. Get the steering linkage to clear the exhaust manifold
2. Cut out and modify the firewall to fit the engine (Distributor Hits).
3. Get the exhaust system to route properly
4. Get a gas tank that will fit properly and connect it to the engine.
5. Get the CNG tank to connect to the engine
6. Mount and connect the computers
7. Brake system connections
8. Cooling system connections
9. CNG wiring connections
10. Airconditioning system connections
11. Power Steering system connections
12. Battery Mounted and connnected
13. Transmission driveline
14. Transmission Linkage
15. Transmission wiring.


All this and I feel a bit overwhelmed.

I'm thinking about throwing away the engine and starting over with a 80mile range electric system.

Donor Engine

I decided to do something different for the engine for the truck. It's a Chevy 350 (5.7L) from a 2000 3/4 ton utility truck that ran dual fuel. Yeah that's right. I am planning on putting a CNG motor into this old truck.
This setup has a 4L60E automatic transmission.

It will be a lot of work I hope its worth it.

Corvette Front Suspension

As stated in my previous post, I was afraid that the Volare front-end that had been installed in my project truck was not a good solution.

It looked like it was put in wrong. So using a plasma cutter and a grinder I cut that mess away and sent it to the recyclers.

Then I ordered a front corvette suspension kit from Flat Out Engineering.

This was not cheap because on top of the kit, I had to buy the corvette suspension from a salvaged corvette.

But now the front suspension problem is solved.

Now to put in the engine and set up the steering.


Sunday, July 8, 2012

Volare Fail

A little history...

I bought this truck in 1996 as a basket case. Robert, the proprietor of the junkyard promised me that the Volare clip was done right. He also told me that he would provide an engine for me. All for a thousand bucks. Sounded pretty good.

The truck sat on the Farm for a few years, then in my backyard for 11 years.
In 2011 I moved it to the garage and started working on it.

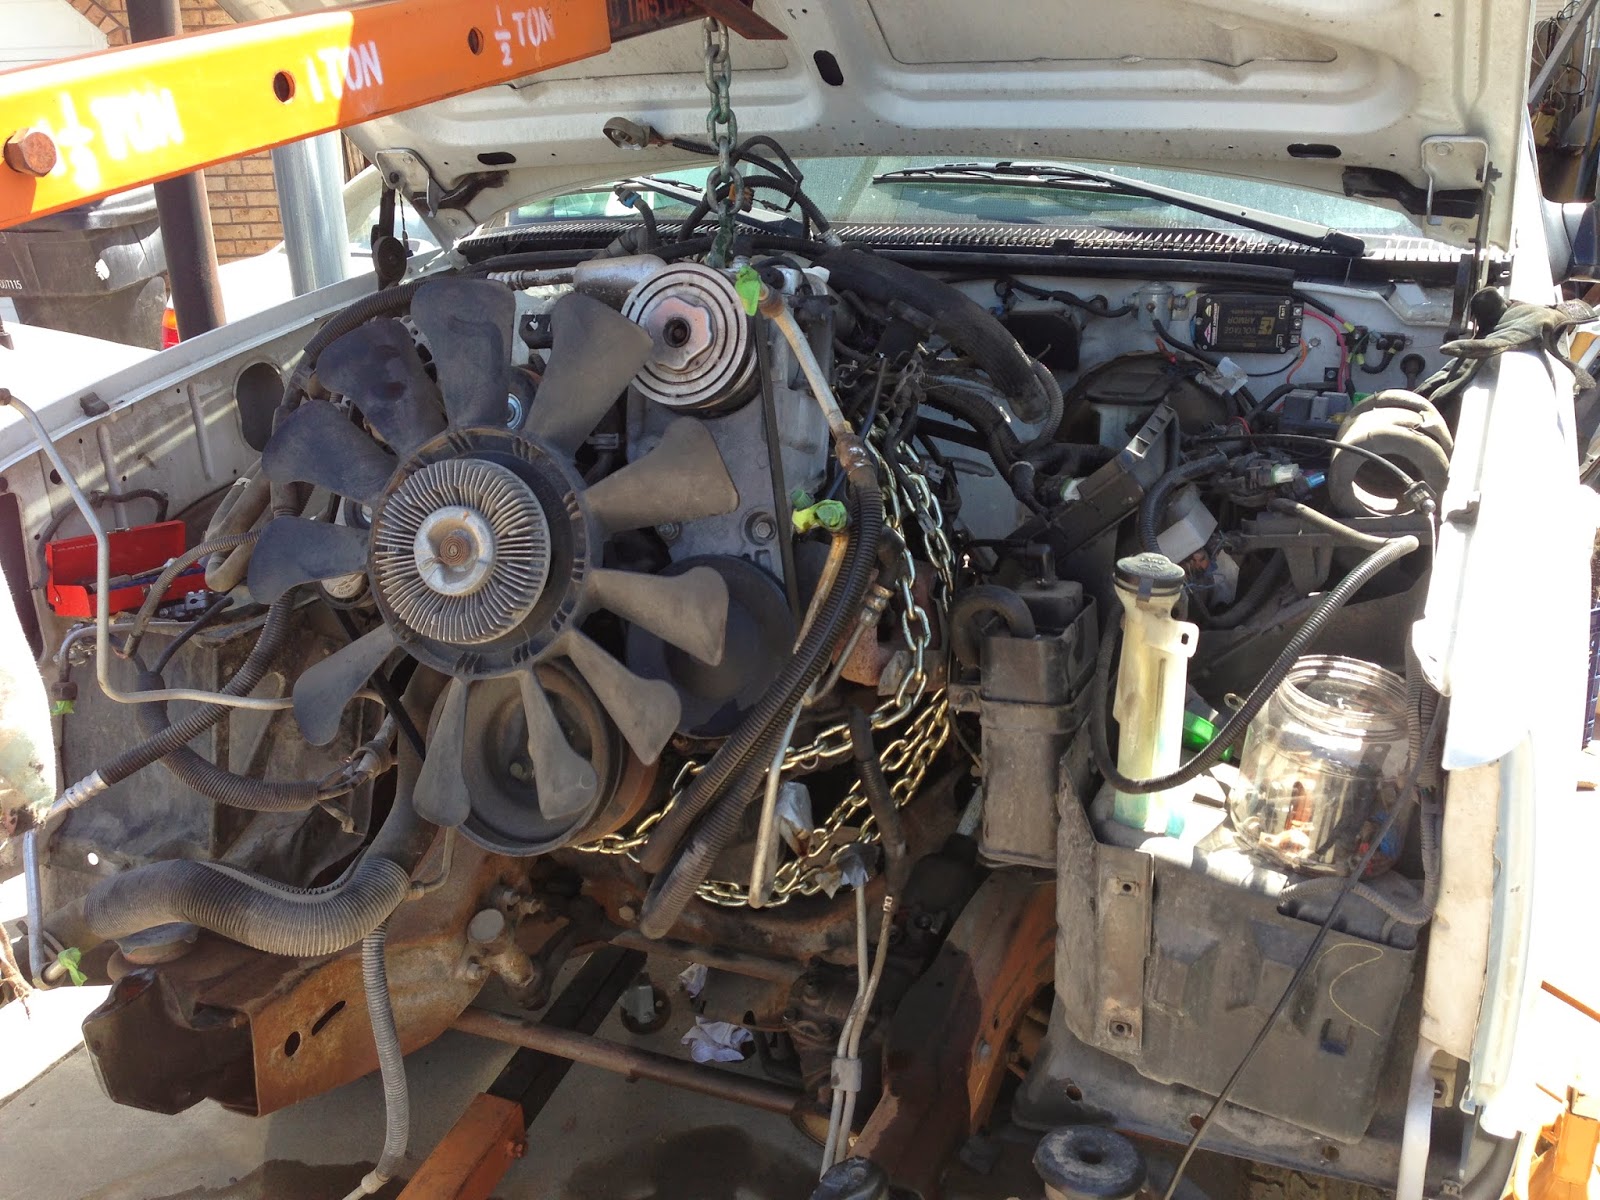
I began working on rebuilding the volare clip because the rubber was rotted and the A-arms were rusted.

I noticed that the volare clip was welded in differently than I had seen before...
Two weld lines are visible because a strip was welded in to fill the gap. (Click to enlarge)
Yeah, that photo above shows how the clip was welded in. I don't worry too much about the height, because I really don't want the truck stance lowered. I want a stock look.

But I worry about the rake angle. I'm not an expert on suspension, but it seems that the rake angle would be negative on this clip. Also, it makes me wonder if whoever welded this in, knew what they were doing because it's not what I have seen and I know the templates for doing this have the fram notched at the bottom and the clip fit into the frame rails like the photo below:
Correctly Notched frame with Volare installed (credit: Notes on a Volare Front Clip )
Now look at the Volare I have to deal with. Instead of notching the frame from the bottom, the top was notched to fit the A-arm. So if I redo this, I have to fix the notch in the top of the frame.

Maybe the way the volare was put in here will work, I don't know, but with the negative rake, there could be more handling problems than I want to deal with, specifically when a bump is hit, instead of pushing the a-arm up the force will not make the shock as active. I guess you get the same effect on leaf springs to some degree. They are on a 0 degree rake.

I might leave the volare as is and finish the truck. If it handles ok at the stance that I like, then I'll be ok. If not then I can redo the volare.

If you have any experience with either of these two clip installs, please comment. You might save me some time and gain some good karma.